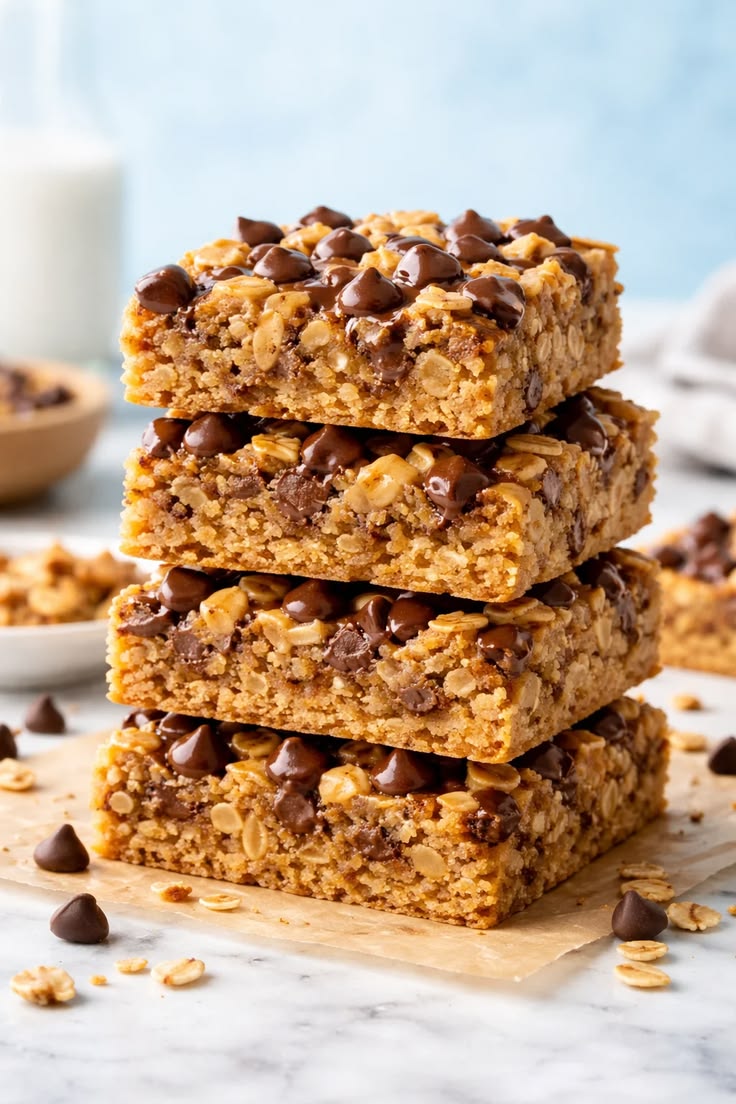
The Best No Bake Oatmeal Protein Bars Recipe for Quick Snacks
What if you could whip up a satisfying, protein-packed snack in under 15 minutes — no oven required? Most people assume healthy snack bars demand complicated steps or expensive ingredients. But the truth is surprisingly simple. These no bake oatmeal protein bars are proof that eating well doesn’t have to be hard, time-consuming, or boring.
Whether you’re fueling a morning workout, powering through an afternoon slump, or meal-prepping for the week ahead, this recipe delivers big on flavor, nutrition, and convenience. Let’s dive in and make your new favorite snack.
Why You’ll Love These No Bake Oatmeal Protein Bars
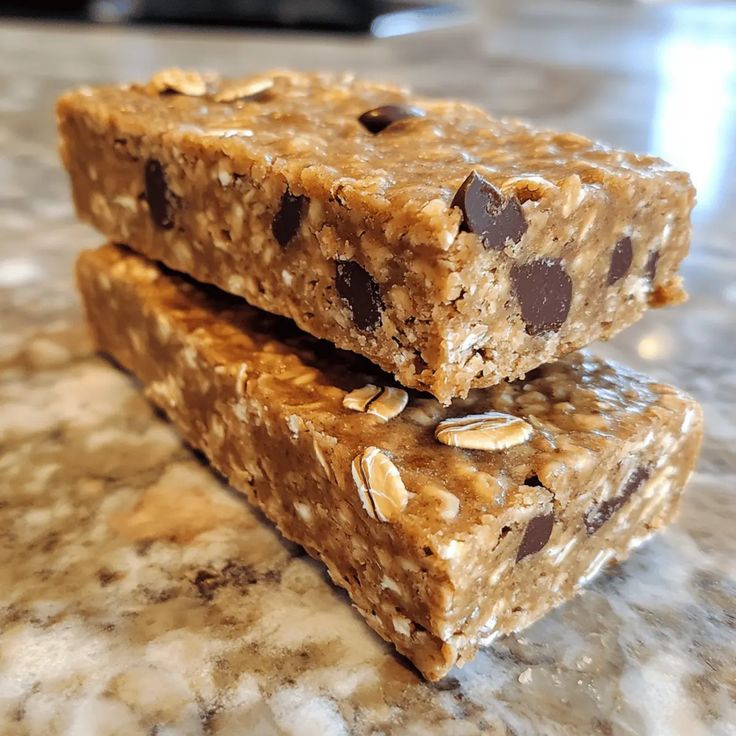
These bars check every box a busy, health-conscious person could want. They’re chewy, naturally sweetened, and loaded with wholesome ingredients, making them perfect healthy snack bars. No refined sugars, no mystery additives, and absolutely no baking required — a true easy no bake recipe.
They’re also incredibly versatile. You can customize the flavors, swap ingredients based on dietary needs, and batch-make them for the entire week. Once you try this recipe, store-bought options will feel like a distant memory. These protein oatmeal bars double as a convenient energy snack idea anytime you need a quick boost.
Ingredients List
Gather these simple, pantry-friendly ingredients before you begin. Most of these items are likely already sitting in your kitchen right now.
- 2 cups rolled oats — Use old-fashioned oats for the best chewy texture. Quick oats work in a pinch but yield a softer bar.
- 1/2 cup vanilla or chocolate protein powder — Whey, pea, or brown rice protein all work beautifully here.
- 1/2 cup natural peanut butter — Almond butter or sunflower seed butter are excellent nut-free alternatives.
- 1/3 cup honey or maple syrup — Maple syrup keeps this recipe fully vegan. Agave nectar also works well.
- 1/4 cup mini chocolate chips — Optional but highly recommended for a touch of indulgence.
- 2 tablespoons chia seeds — Adds omega-3s, fiber, and a subtle crunch.
- 1 teaspoon vanilla extract — Enhances the overall flavor profile significantly.
- Pinch of sea salt — Balances sweetness and elevates every other ingredient.
- 2–3 tablespoons milk of choice — Adjusts consistency. Use oat milk, almond milk, or regular dairy milk.
Pro Tip: If your peanut butter is very thick, gently warm it for 20–30 seconds in the microwave before mixing. This makes blending the ingredients significantly easier and more uniform.
Timing
One of the greatest advantages of this recipe is how little time it demands from start to finish.
- Prep Time: 10 minutes
- Chill Time: 30 minutes
- Total Time: 40 minutes
Compare that to traditional baked protein bars, which typically require 60–90 minutes including baking and cooling time. This recipe is roughly 55% faster, making it an ideal Easy no bake recipe for anyone with a packed schedule.
You can also speed things up further by using a food processor to mix the ingredients, cutting active prep time to under 5 minutes.
Step-by-Step Instructions
Follow these straightforward steps for perfectly set, delicious bars every single time.
Step 1: Prepare Your Pan
Line an 8×8-inch baking dish with parchment paper, leaving some overhang on the sides. This makes it incredibly easy to lift the bars out cleanly after chilling. Lightly spray the parchment with non-stick cooking spray for extra insurance.
Step 2: Mix the Dry Ingredients
In a large mixing bowl, combine the rolled oats, protein powder, chia seeds, and sea salt. Stir everything together until the dry ingredients are evenly distributed. This step ensures no pockets of protein powder remain in the finished bars.
Step 3: Combine the Wet Ingredients
In a separate microwave-safe bowl, mix together the peanut butter, honey (or maple syrup), and vanilla extract. Microwave for 20–30 seconds, then stir until smooth and fully combined. The mixture should be pourable and glossy.
Step 4: Bring It All Together
Pour the wet mixture over the dry ingredients. Stir vigorously until everything is thoroughly coated and no dry spots remain. If the mixture feels too crumbly, add milk one tablespoon at a time until it holds together when pressed between your fingers.
Step 5: Fold in the Chocolate Chips
Allow the mixture to cool slightly before folding in the mini chocolate chips. Adding them too soon while the mixture is warm will cause them to melt and lose their shape. Stir gently to distribute them evenly throughout.
Step 6: Press and Chill
Transfer the mixture into your prepared pan. Use the back of a spatula or the bottom of a flat glass to press the mixture down firmly and evenly. The more firmly you press, the better the bars will hold together. Refrigerate for at least 30 minutes before cutting.
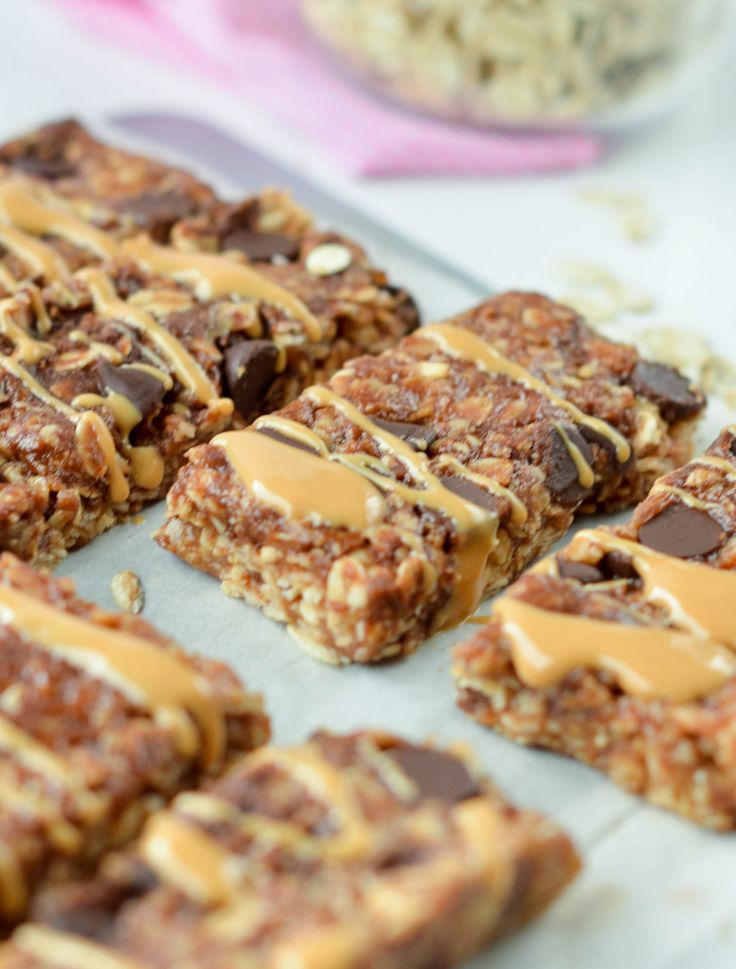
Step 7: Slice and Serve
Once chilled and firm, lift the slab out using the parchment overhang. Place it on a cutting board and slice into 10–12 even bars. Serve immediately or store for later — either way, they’re absolutely delicious.
Nutritional Information
The following values are approximate per bar, based on a yield of 10 bars using the standard ingredients listed above.
- Calories: 210 kcal
- Protein: 12g
- Carbohydrates: 22g
- Dietary Fiber: 3g
- Total Fat: 9g
- Saturated Fat: 2g
- Sugar: 8g
- Sodium: 85mg
With 12 grams of protein per bar, these no bake oatmeal protein bars rival many commercial options — without the artificial preservatives or excessive sugar. Studies suggest that snacks containing 10–15g of protein help sustain energy levels and reduce hunger between meals more effectively than carb-only snacks.
The combination of oats and chia seeds also provides a meaningful dose of soluble fiber, which supports healthy digestion and steady blood sugar levels throughout the day.

The Best No Bake Oatmeal Protein Bars Recipe for Quick Snacks
Ingredients
- 2 cups rolled oats — Use old-fashioned oats for the best chewy texture. Quick oats work in a pinch but yield a softer bar.
- 1/2 cup vanilla or chocolate protein powder — Whey pea, or brown rice protein all work beautifully here.
- 1/2 cup natural peanut butter — Almond butter or sunflower seed butter are excellent nut-free alternatives.
- 1/3 cup honey or maple syrup — Maple syrup keeps this recipe fully vegan. Agave nectar also works well.
- 1/4 cup mini chocolate chips — Optional but highly recommended for a touch of indulgence.
- 2 tablespoons chia seeds — Adds omega-3s fiber, and a subtle crunch.
- 1 teaspoon vanilla extract — Enhances the overall flavor profile significantly.
- Pinch of sea salt — Balances sweetness and elevates every other ingredient.
- 2 –3 tablespoons milk of choice — Adjusts consistency. Use oat milk almond milk, or regular dairy milk.
Instructions
- Line an 8×8-inch baking dish with parchment paper, leaving some overhang on the sides. This makes it incredibly easy to lift the bars out cleanly after chilling. Lightly spray the parchment with non-stick cooking spray for extra insurance.
- In a large mixing bowl, combine the rolled oats, protein powder, chia seeds, and sea salt. Stir everything together until the dry ingredients are evenly distributed. This step ensures no pockets of protein powder remain in the finished bars.
- In a separate microwave-safe bowl, mix together the peanut butter, honey (or maple syrup), and vanilla extract. Microwave for 20–30 seconds, then stir until smooth and fully combined. The mixture should be pourable and glossy.
- Pour the wet mixture over the dry ingredients. Stir vigorously until everything is thoroughly coated and no dry spots remain. If the mixture feels too crumbly, add milk one tablespoon at a time until it holds together when pressed between your fingers.
- Allow the mixture to cool slightly before folding in the mini chocolate chips. Adding them too soon while the mixture is warm will cause them to melt and lose their shape. Stir gently to distribute them evenly throughout.
- Transfer the mixture into your prepared pan. Use the back of a spatula or the bottom of a flat glass to press the mixture down firmly and evenly. The more firmly you press, the better the bars will hold together. Refrigerate for at least 30 minutes before cutting.
- Once chilled and firm, lift the slab out using the parchment overhang. Place it on a cutting board and slice into 10–12 even bars. Serve immediately or store for later — either way, they’re absolutely delicious.
Video
There are no reviews yet. Be the first one to write one.
Healthier Alternatives for the Recipe
This recipe is already quite nutritious, but there are several smart swaps you can make to tailor it even further to your health goals.
- Lower Sugar: Replace honey with a sugar-free syrup or mashed ripe banana for natural sweetness with fewer calories.
- Higher Protein: Add 2 tablespoons of hemp seeds or increase the protein powder by 2 tablespoons for an extra protein boost.
- Nut-Free Version: Swap peanut butter for sunflower seed butter or tahini. The flavor profile changes slightly but remains delicious.
- Gluten-Free: Use certified gluten-free rolled oats to make this recipe safe for those with gluten sensitivities.
- Vegan-Friendly: Choose plant-based protein powder, maple syrup instead of honey, and dairy-free chocolate chips.
- Lower Calorie: Reduce the peanut butter to 1/3 cup and add 2 tablespoons of unsweetened applesauce to maintain moisture.
These modifications keep the bars flavorful and satisfying while making them accessible to a wider range of dietary lifestyles and preferences.
Serving Suggestions
These bars are wonderfully versatile and pair well with a variety of accompaniments depending on the time of day.
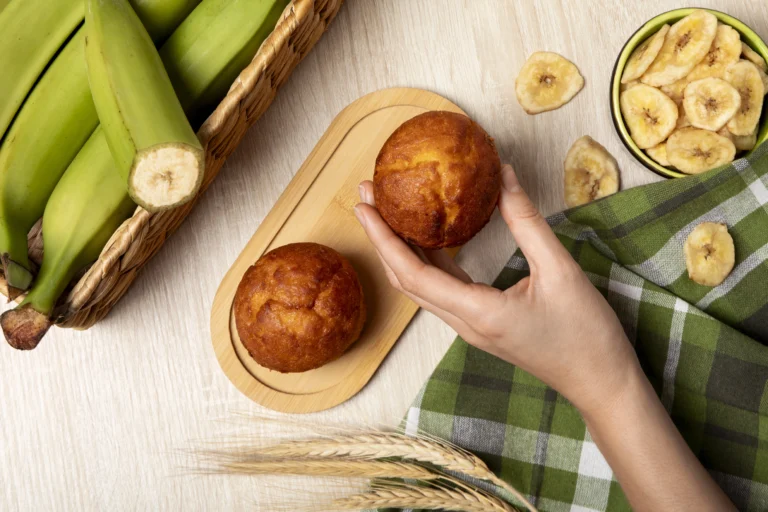
- Pre-Workout Fuel: Enjoy one bar with a small banana about 30 minutes before exercise for sustained energy without heaviness.
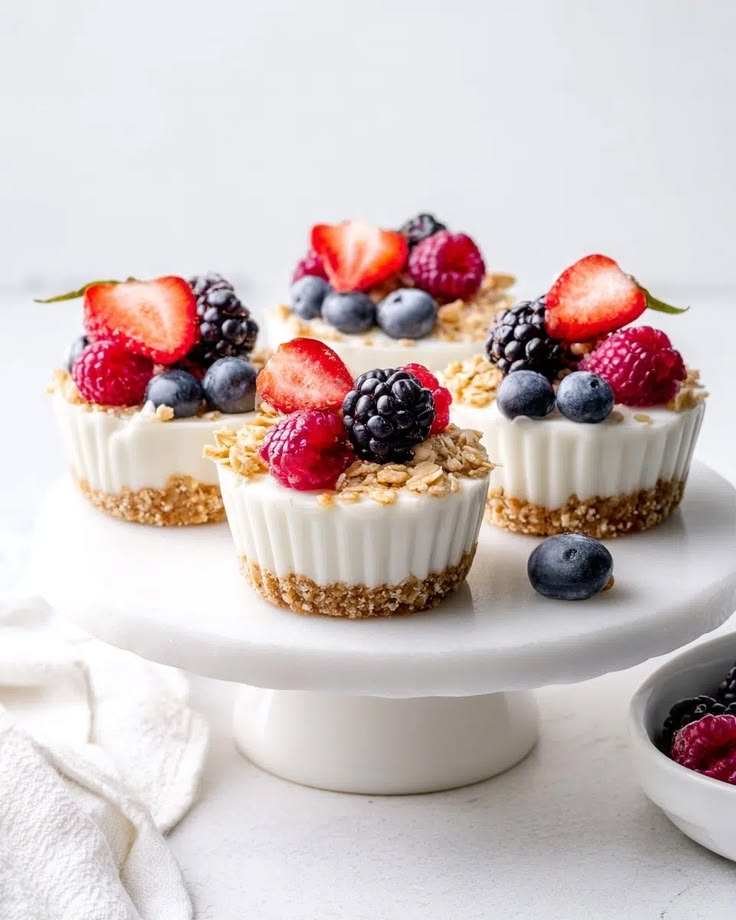
- Breakfast On-the-Go: Pair with a Greek yogurt parfait or a smoothie for a complete, balanced morning meal.
- Afternoon Snack: Serve alongside a cup of herbal tea or black coffee for a satisfying midday pick-me-up.
- Kid-Friendly Lunchbox: Cut into smaller squares and pack alongside fresh fruit for a school-friendly, nutrient-dense treat.
- Post-Workout Recovery: Combine with a protein shake for an enhanced muscle recovery snack after intense training sessions.
- Dessert Alternative: Drizzle with a little dark chocolate and a sprinkle of flaky sea salt for an elevated, dessert-worthy treat.
No matter how you serve them, these bars feel indulgent while remaining genuinely good for you — a rare and wonderful combination.
Common Mistakes to Avoid
Even simple recipes have a few common pitfalls. Knowing these in advance will save you time and frustration.
- Skipping the chill time: Cutting the bars before they’re fully set causes them to crumble. Always refrigerate for the full 30 minutes minimum to keep your protein oatmeal bars intact.
- Not pressing firmly enough: Loosely packed bars fall apart when sliced. Use firm, even pressure when pressing the mixture into the pan for healthy snack bars that hold together.
- Using the wrong oats: Steel-cut oats are too hard and chewy. Stick with rolled or old-fashioned oats for the perfect texture in this easy no bake recipe.
- Adding too much liquid: Too much milk makes the bars sticky and difficult to handle. Add liquid gradually to maintain ideal protein oatmeal bars consistency.
- Choosing a low-quality protein powder: Some powders have a chalky aftertaste. Use a high-quality powder you already enjoy for a better energy snack idea.
- Storing at room temperature too long: These bars contain natural nut butter and can go rancid outside the fridge. Always refrigerate after the first day to keep your healthy snack bars fresh.
Storing Tips for the Recipe
Proper storage is key to keeping your no bake oatmeal protein bars fresh, chewy, and delicious throughout the week.
Refrigerator: Store bars in an airtight container, separated by layers of parchment paper to prevent sticking. They’ll stay fresh and firm for up to 7 days in the fridge.
Freezer: For longer storage, wrap each bar individually in plastic wrap or parchment, then place them in a freezer-safe zip-lock bag. They freeze beautifully for up to 3 months.
Thawing: Remove frozen bars from the freezer and let them thaw in the refrigerator overnight, or at room temperature for about 20–30 minutes before eating.
Meal Prep Tip: Make a double batch on Sunday and freeze half. You’ll have a ready supply of healthy snacks for the entire month with virtually no extra effort.
Avoid: Storing these bars in warm or humid environments. Heat softens the nut butter and causes the bars to lose their shape and become overly sticky.
Conclusion
These no bake oatmeal protein bars are the ultimate solution for anyone craving a quick, nutritious, and genuinely satisfying snack. With minimal ingredients, zero baking, and endless customization options, they fit seamlessly into any lifestyle or dietary preference.
From busy mornings to post-gym recovery, these bars deliver real nourishment without compromise. They’re proof that healthy eating can be simple, delicious, and deeply rewarding all at once.
Ready to give them a try? Head to your kitchen right now and make your first batch — we promise you won’t regret it. Once you do, drop a comment below sharing your favorite flavor variations, or tag us on social media with your creations. And if you loved this recipe, explore more wholesome snack ideas right here on the blog. Your next favorite recipe is just a scroll away!