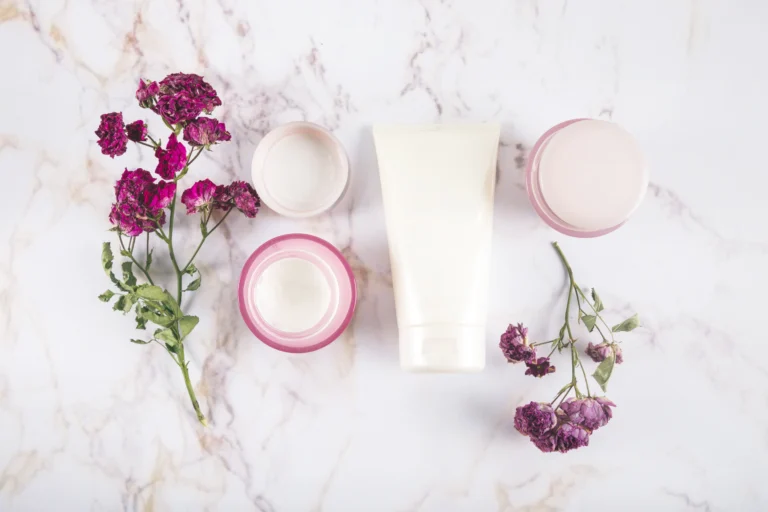
7-Step CeraVe Skincare Routine for Smooth & Healthy Skin
So you’ve heard everyone raving about CeraVe and you’re wondering what all the hype is about? Trust me, I was skeptical too until I tried it myself. This pharmacy brand has completely changed how my skin feels, and the best part is that it won’t drain your bank account. Let me walk you through the exact seven-step routine that transformed my complexion from dry and cranky to smooth and glowing. ✨
Building Your CeraVe Skincare Routine
Creating the perfect CeraVe skincare routine doesn’t have to be complicated or expensive. When I first started exploring drugstore skincare, I was overwhelmed by all the options. But here’s the thing about CeraVe: their products are formulated with ceramides that actually help restore your skin barrier. Think of ceramides as the glue that holds your skin cells together.
The key to making this routine work is consistency. You can’t just slap on products randomly and hope for magic. I learned this the hard way after wondering why my skin wasn’t improving despite buying half the skincare aisle. Once I established a proper order and stuck with it, everything clicked.
As I mentioned in my guide about why skin gets so oily, having a solid routine helps balance your skin’s natural oil production. This CeraVe routine for beginners starts with the basics and builds from there.
Step One: CeraVe Hydrating Facial Cleanser

Let’s start with the foundation of any good skincare routine. The Hydrating Facial Cleanser is my morning go-to because it’s gentle enough not to strip my skin. I used to think cleansers needed to make my face feel squeaky clean, but that tight feeling actually means you’ve stripped away too much natural oil.
This cleanser contains hyaluronic acid and ceramides, which means it cleans without leaving your face feeling like the Sahara Desert. I massage it onto damp skin for about 30 seconds, and it removes overnight buildup without any drama. Perfect for those mornings when you’re barely awake.
Step Two: CeraVe Foaming Facial Cleanser
Now this one is my evening warrior. After a long day of makeup, sunscreen, and city pollution, you need something more powerful. The best CeraVe products include this foaming cleanser because it actually removes everything without being harsh.
I use this at night when my skin needs a deeper clean. The foam feels satisfying, and it rinses away completely without leaving any residue. If you have oily or combination skin, you might want to use this one both morning and night instead.

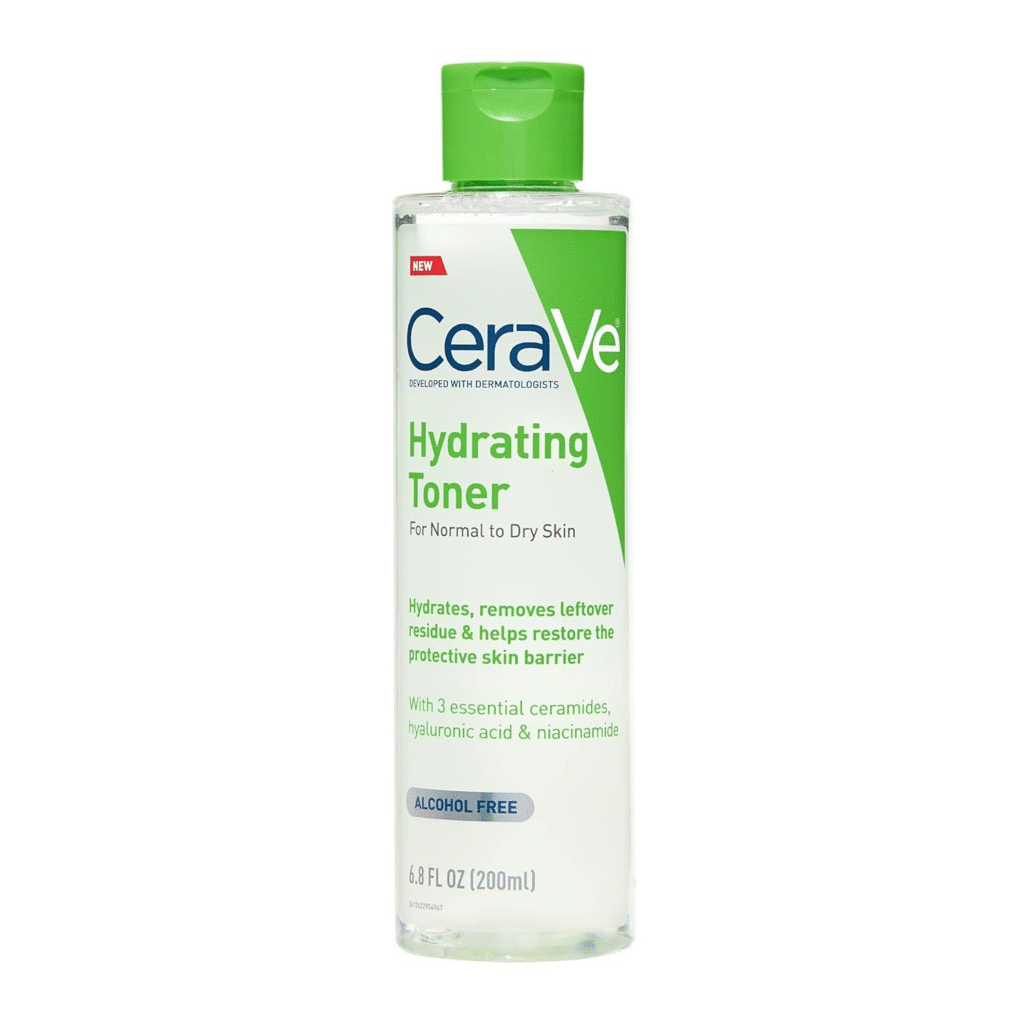
Step Three: CeraVe Hydrating Toner
Here’s where things get interesting. I’ll be honest, I used to skip toner completely because I thought it was just fancy water. But adding this step made a noticeable difference in how my serums absorbed. This toner preps your skin to drink up all the good stuff coming next.
Pat it gently onto your face with clean hands or a cotton pad. Don’t rub aggressively like you’re scrubbing a countertop. Your skin deserves better treatment than that. This step takes literally 10 seconds but makes everything else work harder for you.
Step Four: CeraVe Hyaluronic Acid Serum
Can we talk about hyaluronic acid for a second? This ingredient can hold up to 1,000 times its weight in water — a game changer in any CeraVe Skincare Routine. It’s basically like having a moisture magnet on your face. When you’re following a CeraVe routine for beginners, this serum becomes one of the best CeraVe products you can include because it boosts hydration instantly.
I always apply this serum while my skin is still slightly damp from the toner. This simple step helps lock in moisture and supports your CeraVe daily skincare routine, making it easier to achieve those CeraVe steps for glowing skin results everyone wants.
Just two to three drops are enough for your entire face. I warm it between my palms and press it gently into my skin. According to this comprehensive guide to CeraVe skincare, layering hydrating products is the secret to that plump, healthy glow everyone’s chasing.

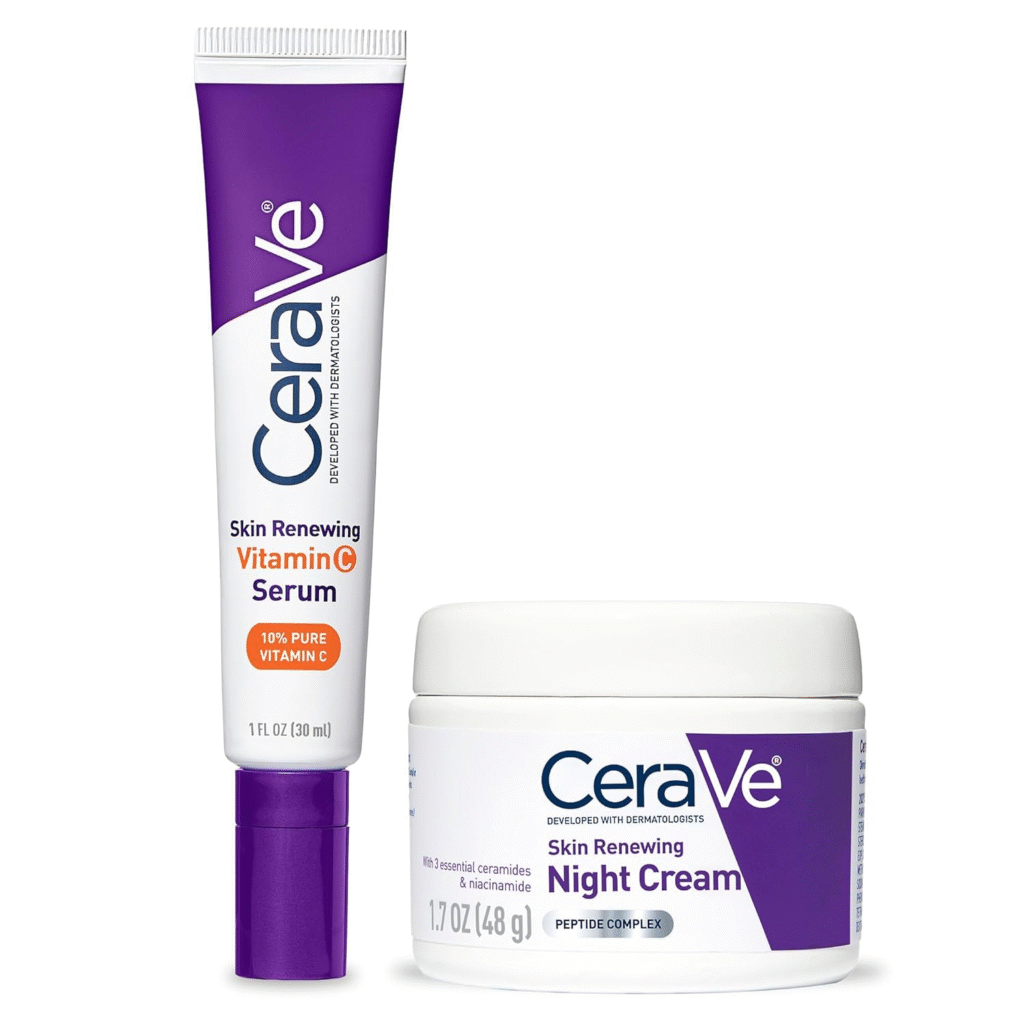
Step Five: CeraVe Vitamin C Serum
Morning routines need antioxidants, and vitamin C is the MVP here. This serum brightens dark spots and protects against environmental damage throughout the day. I had stubborn acne marks that finally started fading after I added this step consistently.
The texture absorbs quickly without feeling sticky or heavy. Apply it after your hyaluronic acid serum and give it a minute to sink in before moving forward. My skin looks noticeably more even-toned since making this part of my CeraVe daily skincare habit. If you want to dive deeper into vitamin C benefits, check out my post about vitamin C serum benefits for all the details. 🌟
Step Six: CeraVe Daily Moisturizing Lotion
This lightweight lotion is perfect for daytime because it hydrates without feeling greasy under makeup. The ceramides in this formula help repair your skin barrier, which is crucial if you deal with sensitivity or irritation. I smooth it over my face and neck using upward motions.
Some people think oily skin doesn’t need moisturizer, but that’s actually when you need it most. When your skin is dehydrated, it overproduces oil to compensate. This creates a vicious cycle that proper moisturizing breaks. The CeraVe steps for glowing skin all work together, and skipping moisturizer defeats the purpose of everything else.

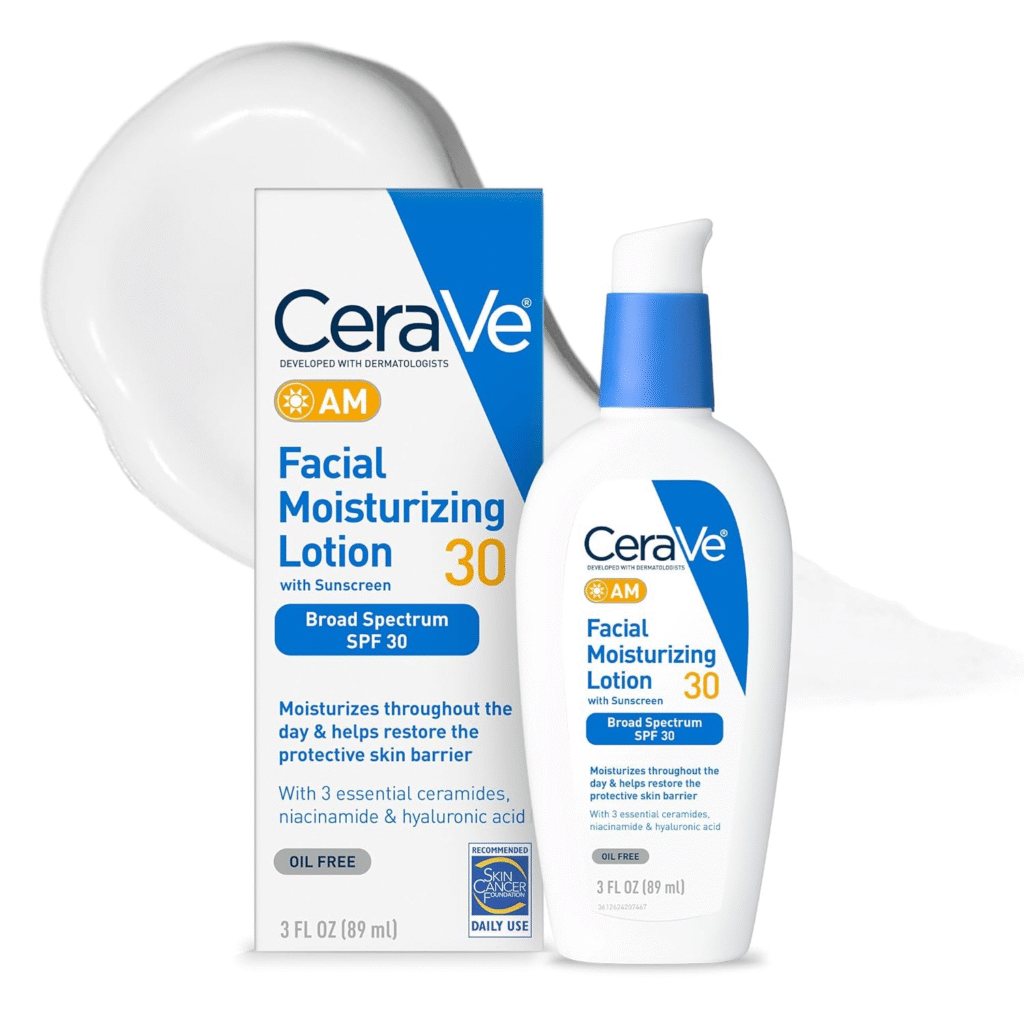
Step Seven: CeraVe AM & PM Facial Moisturizing Lotion
Here’s where day and night routines split. The AM version contains SPF 30, which is non-negotiable for protecting against sun damage. I apply this as my final morning step, making sure to cover all exposed areas including my ears and neck.
At night, I switch to the PM version, which is richer and focuses on overnight repair. As noted in expert skincare recommendations, nighttime is when your skin does most of its regeneration work. The PM lotion supports this natural process with niacinamide and ceramides.
If you struggle with redness or inflammation, this step is especially important. I’ve written about anti-inflammation skincare tips that complement this routine beautifully. Your skin will thank you for the consistent care. 💙
Final Thoughts
Building a CeraVe skincare routine doesn’t require a pharmacy degree or a trust fund. These seven steps create a complete system that aligns with the best CeraVe routine for beginners, covering cleansing, hydration, treatment, and protection. The best part is seeing real results without spending your entire paycheck while following one of the best CeraVe products combos recommended by dermatologists.
Start with the basics and add steps gradually if you’re new to skincare. Your skin needs time to adjust, so don’t expect overnight miracles. Give your CeraVe daily skincare at least four weeks of consistent use before judging results. Trust the process, stick with it, and watch your skin transform into its healthiest version yet with a simple and effective CeraVe steps for glowing skin routine.