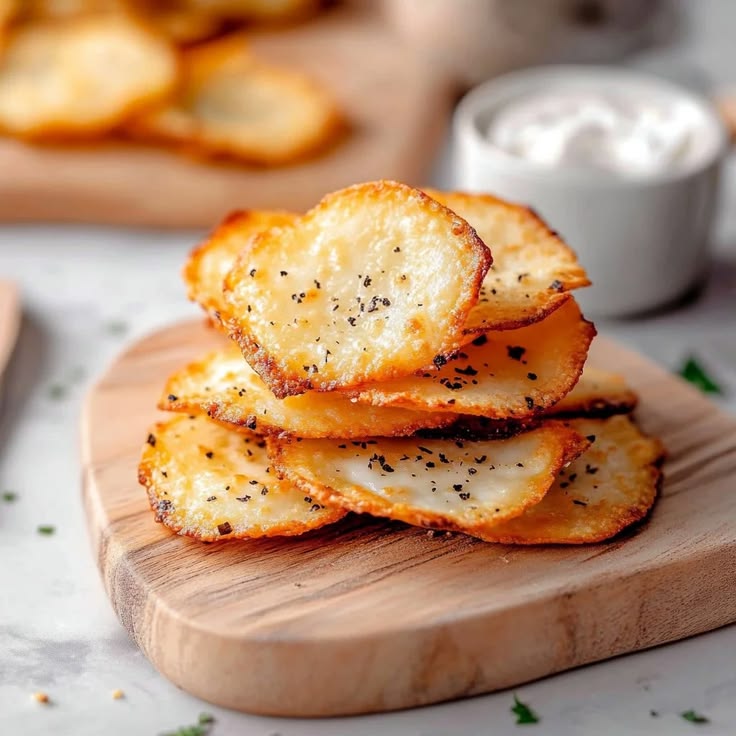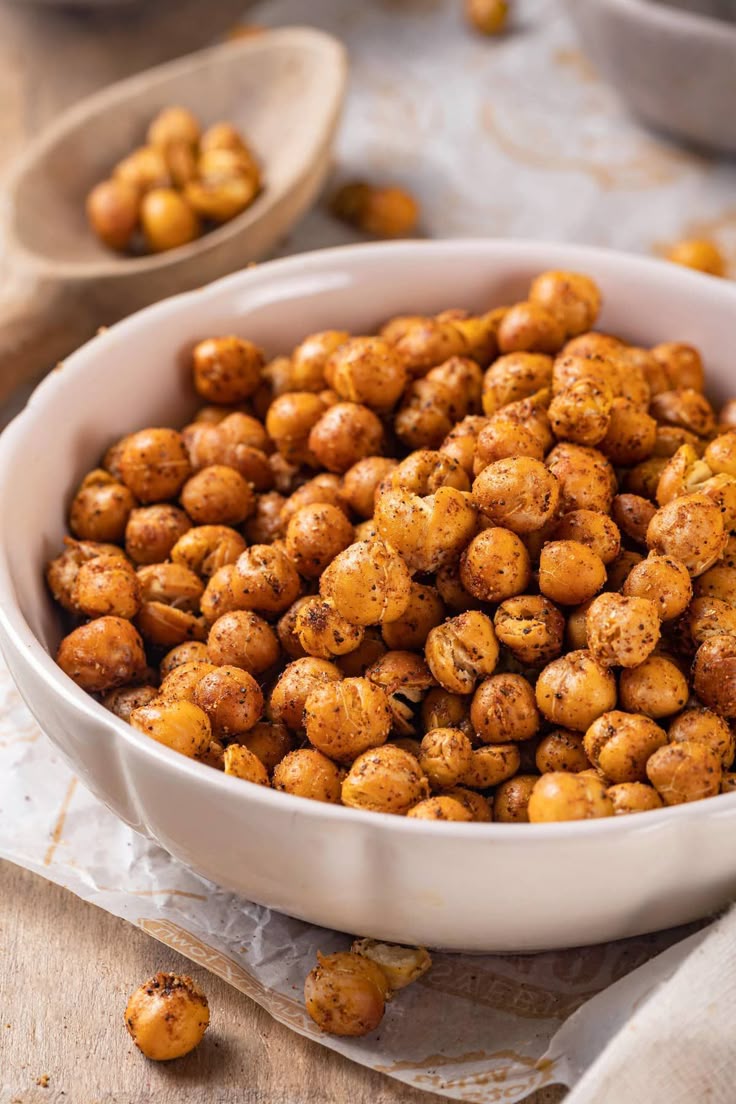
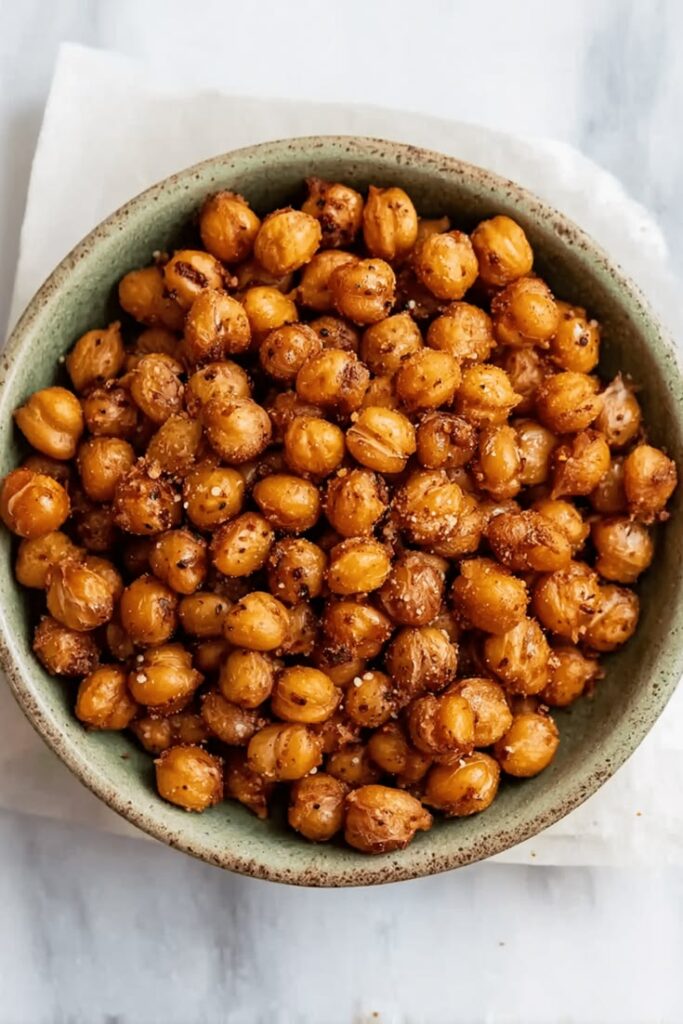
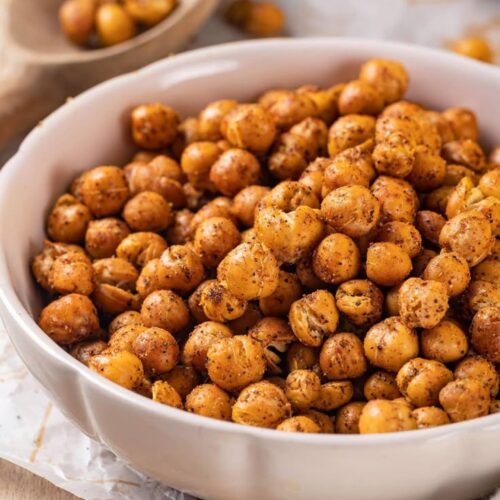
The Best Crispy Roasted Chickpeas Recipe for a Savory Snack
What if your go-to snack could be crunchy, satisfying, and actually good for you — all at the same time? Most people reach for chips or crackers without realizing there’s a far better option hiding in their pantry. This crispy roasted chickpeas recipe is about to change the way you think about snacking forever. Simple, bold, and irresistibly crunchy — let’s dive in.
Whether you’re meal prepping for the week or need a last-minute party snack, this recipe delivers every single time. Packed with plant-based protein and endlessly customizable, crispy roasted chickpeas recipe results are nothing short of addictive. Keep reading to discover exactly how to make them perfectly golden and crunchy at home.
Ingredients List
You only need a handful of pantry staples to pull this recipe together. The beauty of roasted chickpeas is their simplicity — yet the flavor payoff is enormous. Here’s everything you’ll need:
- 2 cans (15 oz each) chickpeas — also called garbanzo beans; dried and soaked chickpeas work too if you plan ahead
- 2 tablespoons olive oil — avocado oil is a great high-heat substitute
- 1 teaspoon smoked paprika — adds a deep, smoky warmth to every bite
- 1 teaspoon garlic powder — for that savory, umami-rich backbone
- ½ teaspoon cumin — earthy and slightly nutty; swap with chili powder for extra heat
- ½ teaspoon onion powder — rounds out the savory flavor profile beautifully
- ¾ teaspoon fine sea salt — adjust to taste; kosher salt works equally well
- ¼ teaspoon black pepper — freshly cracked preferred for maximum flavor
- Optional: pinch of cayenne pepper — for those who love a spicy kick
Substitution tip: For an oil-free version, use aquafaba (the liquid from the chickpea can) as a binder instead of olive oil. It still helps the spices cling beautifully while keeping the fat content minimal.
Timing
One of the biggest advantages of this recipe is how time-efficient it is. Here’s a quick breakdown of what to expect:
- Prep Time: 10 minutes
- Cook Time: 35–40 minutes
- Total Time: approximately 50 minutes
That’s roughly 50 minutes total — about 30% less time than the average homemade snack recipe, which typically clocks in at over 70 minutes. Most of that time is hands-off oven roasting, so you can multitask freely while your chickpeas transform into golden, crunchy perfection.
Step-by-Step Instructions
Follow these straightforward steps for guaranteed crunch every time. Precision in the early steps — especially drying — makes all the difference between soggy and spectacularly crispy.
Step 1: Preheat Your Oven
Preheat your oven to 400°F (200°C). A properly preheated oven ensures the chickpeas start crisping immediately upon contact with heat. Line a large rimmed baking sheet with parchment paper for easy cleanup and even browning.
Step 2: Drain, Rinse, and Dry the Chickpeas
Drain and rinse your canned chickpeas thoroughly under cold water. This step removes excess sodium and starch. Then — and this is crucial — spread them on a clean kitchen towel or several layers of paper towels. Pat them completely dry and let them air out for at least 5 minutes. Moisture is the enemy of crunch.
Step 3: Remove the Skins (Optional but Recommended)
As you dry the chickpeas, many of the papery skins will slip right off. Remove as many as you can. This extra step significantly improves the final texture, giving you a more uniformly Crunchy chickpeas result that stays crisp longer.
Step 4: Season the Chickpeas
Transfer the dried chickpeas to a large mixing bowl. Drizzle with olive oil and toss to coat evenly. Add smoked paprika, garlic powder, cumin, onion powder, salt, pepper, and cayenne (if using). Toss again until every chickpea is thoroughly and evenly coated in the spice mixture.
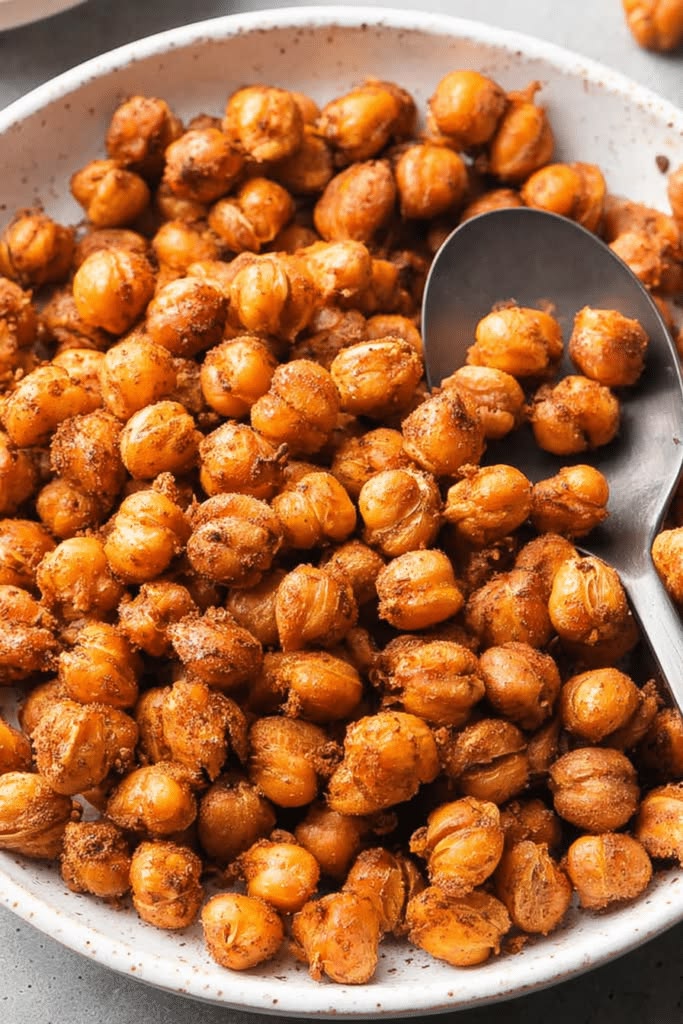
Step 5: Roast to Golden Perfection
Spread the seasoned chickpeas in a single layer on your prepared baking sheet. Make sure they aren’t overcrowded — this allows hot air to circulate freely around each one. Roast for 35–40 minutes, shaking the pan every 15 minutes to ensure even browning on all sides.
Step 6: Cool Before Serving
Remove from the oven when the chickpeas are deep golden and feel firm to the touch. Let them cool on the baking sheet for 10 minutes — they’ll continue to crisp up as they cool. Resist the urge to eat them straight from the oven; the texture improves dramatically as they rest.
Nutritional Information
Chickpeas are a nutritional powerhouse, making this snack as smart as it is delicious. Here’s the approximate nutritional breakdown per serving (roughly ¼ cup, based on 6 servings total):
- Calories: 150 kcal
- Protein: 7g — nearly double the protein of most traditional chips
- Carbohydrates: 20g
- Dietary Fiber: 5g — supporting gut health and satiety
- Total Fat: 5g (mostly heart-healthy monounsaturated fat from olive oil)
- Sodium: 280mg (adjustable based on salt used)
- Iron: 10% of Daily Value
- Folate: 15% of Daily Value
According to nutritional research, chickpeas rank among the top plant-based sources of protein and fiber. A single serving of this snack provides more fiber than a bowl of most commercial cereals — making it a genuinely functional food, not just a tasty one.
The Best Crispy Roasted Chickpeas Recipe for a Savory Snack
Ingredients
- 2 cans 15 oz each chickpeas — also called garbanzo beans; dried and soaked chickpeas work too if you plan ahead
- 2 tablespoons olive oil — avocado oil is a great high-heat substitute
- 1 teaspoon smoked paprika — adds a deep smoky warmth to every bite
- 1 teaspoon garlic powder — for that savory umami-rich backbone
- ½ teaspoon cumin — earthy and slightly nutty; swap with chili powder for extra heat
- ½ teaspoon onion powder — rounds out the savory flavor profile beautifully
- ¾ teaspoon fine sea salt — adjust to taste; kosher salt works equally well
- ¼ teaspoon black pepper — freshly cracked preferred for maximum flavor
- Optional: pinch of cayenne pepper — for those who love a spicy kick
Instructions
- Preheat your oven to 400°F (200°C). A properly preheated oven ensures the chickpeas start crisping immediately upon contact with heat. Line a large rimmed baking sheet with parchment paper for easy cleanup and even browning.
- Drain and rinse your canned chickpeas thoroughly under cold water. This step removes excess sodium and starch. Then — and this is crucial — spread them on a clean kitchen towel or several layers of paper towels. Pat them completely dry and let them air out for at least 5 minutes. Moisture is the enemy of crunch.
- As you dry the chickpeas, many of the papery skins will slip right off. Remove as many as you can. This extra step significantly improves the final texture, giving you a more uniformly Crunchy chickpeas result that stays crisp longer.
- Transfer the dried chickpeas to a large mixing bowl. Drizzle with olive oil and toss to coat evenly. Add smoked paprika, garlic powder, cumin, onion powder, salt, pepper, and cayenne (if using). Toss again until every chickpea is thoroughly and evenly coated in the spice mixture.
- Spread the seasoned chickpeas in a single layer on your prepared baking sheet. Make sure they aren’t overcrowded — this allows hot air to circulate freely around each one. Roast for 35–40 minutes, shaking the pan every 15 minutes to ensure even browning on all sides.
- Remove from the oven when the chickpeas are deep golden and feel firm to the touch. Let them cool on the baking sheet for 10 minutes — they’ll continue to crisp up as they cool. Resist the urge to eat them straight from the oven; the texture improves dramatically as they rest.
Video
There are no reviews yet. Be the first one to write one.
Healthier Alternatives for the Recipe
This recipe is already a healthy roasted chickpeas powerhouse, but there are plenty of ways to tailor it to specific dietary goals or preferences. Here are some smart swaps and modifications:
- Oil-Free Version: Replace olive oil with 2–3 tablespoons of aquafaba. The chickpeas will still crisp up beautifully, making this a healthy roasted chickpeas option with less fat.
- Low-Sodium Option: Skip added salt and boost flavor with nutritional yeast, lemon zest, or herb blends like za’atar for a tasty savory snack idea.
- Anti-Inflammatory Boost: Add ½ teaspoon of turmeric and a pinch of black pepper to the spice mix. This turns your easy chickpeas recipe into a wellness-friendly treat.
- Sweet Version: Toss chickpeas with coconut oil, cinnamon, a pinch of sea salt, and a drizzle of maple syrup before roasting for a crunchy chickpeas snack with a sweet-savory twist.
- Higher Protein Option: Serve with a tahini dipping sauce to add healthy fats and an extra protein boost from sesame seeds, perfect for a healthy roasted chickpeas snack that satisfies cravings.
Serving Suggestions
The versatility of this easy chickpeas recipe is one of its greatest strengths. These little golden bites work beautifully in so many contexts beyond simple snacking:
- Salad Topper: Use roasted chickpeas in place of croutons on Caesar or Greek salads for a protein-rich, gluten-free crunch.
- Soup Garnish: Sprinkle over tomato bisque or roasted red pepper soup for a textural contrast that elevates the entire bowl.
- Grain Bowl Addition: Add to quinoa or farro bowls alongside roasted vegetables, tahini dressing, and fresh herbs for a complete, balanced meal.
- Party Snack Board: Arrange alongside hummus, olives, pita chips, and fresh veggies for a stunning Mediterranean-inspired snack platter.
- Lunchbox Snack: Pack in small airtight containers for an on-the-go savory snack idea that travels well and doesn’t require refrigeration.
- Taco Filling: Use as a vegetarian taco filling with avocado, shredded cabbage, lime crema, and fresh cilantro for a satisfying meatless meal.
Common Mistakes to Avoid
Even experienced home cooks can run into trouble with roasted chickpeas. Here are the most common pitfalls — and exactly how to sidestep them:
- Skipping the drying step: This is the number one reason chickpeas come out chewy instead of crispy. Moisture trapped inside steams the chickpeas rather than roasting them. Always dry thoroughly — even 10 extra minutes of drying makes a measurable difference.
- Overcrowding the baking sheet: Piling chickpeas on top of each other traps steam and prevents browning. Use two baking sheets if necessary to keep everything in a single, spaced-out layer.
- Adding spices before drying: Season after drying and tossing with oil. Adding spices to wet chickpeas causes uneven coating and can lead to burnt spices before the chickpeas are fully cooked.
- Roasting at too low a temperature: Anything below 375°F produces soft, disappointing results. Stick to 400°F for the ideal balance of crispy exterior and tender interior.
- Not shaking the pan: Forgetting to toss the chickpeas mid-roast leads to uneven browning. Set a timer every 15 minutes as a reminder.
- Storing while still warm: Sealing warm chickpeas in a container traps steam and destroys the crunch almost immediately. Always cool completely before storing.
Storing Tips for the Recipe
Proper storage is key to maintaining that satisfying crunch you worked so hard to achieve. Here’s how to keep your roasted chickpeas at their best:
Room Temperature Storage: Store fully cooled chickpeas in an airtight container or a paper bag at room temperature for up to 4–5 days. A paper bag is actually preferable to plastic because it allows any residual moisture to escape, preserving crispness longer.
Avoid the Refrigerator: Refrigerating roasted chickpeas introduces humidity, which quickly softens them. Unless you’re mixing them into a dish, keep them at room temperature.
Re-Crisping Tip: If your chickpeas lose their crunch after a day or two, spread them on a baking sheet and pop them back in a 350°F oven for 5–8 minutes. They’ll come back to life almost instantly.
Meal Prep Friendly: You can prep a double or triple batch on Sunday and snack on them all week. This crispy roasted chickpeas recipe scales up effortlessly — just use multiple baking sheets and ensure nothing is overcrowded.
Freezing: Freezing is not recommended for roasted chickpeas, as the thawing process introduces moisture that permanently ruins the texture. Stick to room-temperature storage for best results.
Conclusion
This crispy roasted chickpeas recipe proves that healthy snacking doesn’t have to be boring, complicated, or expensive. With just a few pantry staples, about 50 minutes of your time, and a handful of smart techniques, you can create a snack that’s genuinely crunchy, deeply flavorful, and nutritionally impressive.
From salad toppers to solo snacking, these golden bites are endlessly versatile and crowd-pleasing every time. The key takeaways are simple: dry thoroughly, season generously, roast at high heat, and cool completely before storing. Follow those four rules and you’ll never have a soggy chickpea again.
Now it’s your turn! Give this recipe a try this week and let us know how it goes in the comments below. Did you try a fun spice variation? Add them to a salad or grain bowl? We’d love to hear your creative twists. And if you loved this recipe, be sure to explore more healthy, flavor-packed snack ideas right here on the blog — your next favorite recipe is just a click away!