7 Stunning Cat Nail Art Ideas | Quick Chrome, Maroon & Velvet Styles
Nail art has evolved from simple polish application to an incredible form of self-expression that’s taking social media by storm. From TikTok tutorials to Instagram inspiration, creative manicures have become the ultimate accessory for fashion-forward individuals. Whether you’re scrolling through a nail design video on your favorite platform or looking for your next salon appointment inspiration, there’s no denying that unique nail designs are having a major moment.
The beauty of modern nail art lies in its versatility and accessibility. You don’t need to be a professional artist to create stunning designs that reflect your personality. With the right techniques and a bit of creativity, anyone can master these trending styles from the comfort of home.
Today, we’re diving into seven show-stopping nail art ideas that combine playful creativity with sophisticated elegance. From fierce cat nail art that channels your inner feline to luxurious chrome finishes that catch the light beautifully, these designs will transform your nails into miniature works of art.
Why Nail Art is More Popular Than Ever
The surge in nail art popularity isn’t just about aesthetics – it’s about personal expression and creativity. Social media platforms have democratized beauty trends, allowing everyday enthusiasts to share their creations and inspire others. Quick nail art techniques have made it possible to achieve professional-looking results without spending hours in a salon chair.
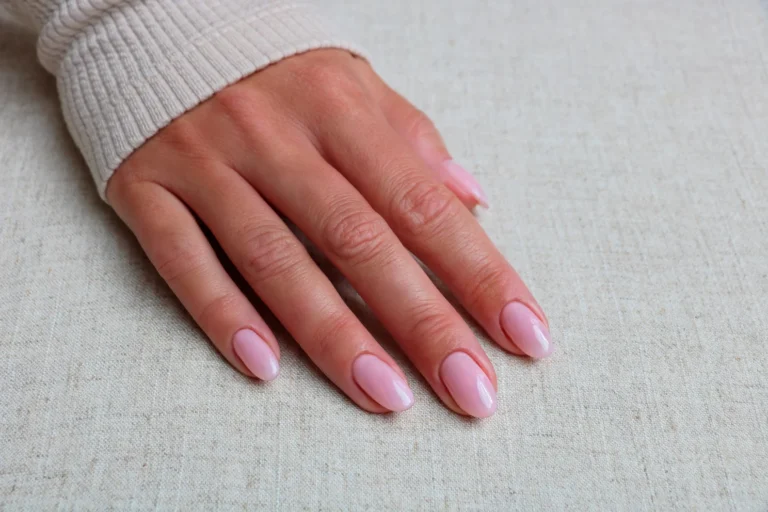
The therapeutic aspect of creating nail art shouldn’t be overlooked either. Many people find the process meditative and relaxing, making it a perfect self-care activity. Plus, with proper nail care as your foundation, these artistic expressions can actually promote healthier nail habits.
For those just starting their nail art journey, our comprehensive nail care guide provides essential tips for maintaining healthy nails that serve as the perfect canvas for any design.
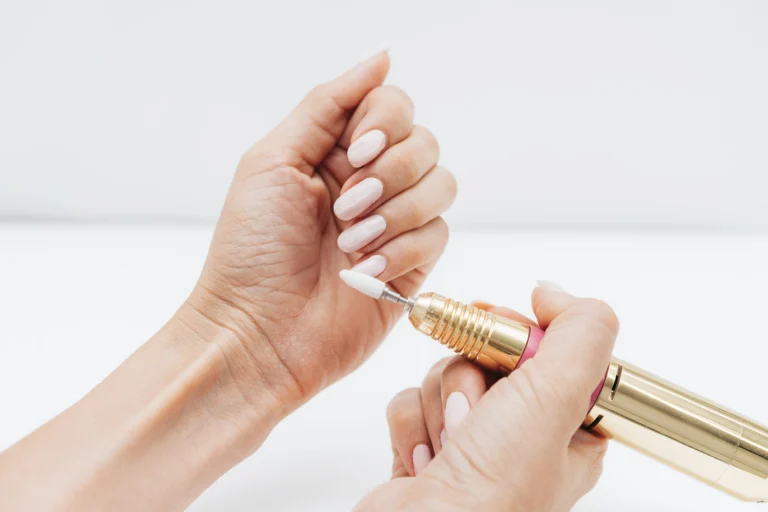
Essential Tools and Preparation
Before we dive into our stunning designs, let’s cover the basics you’ll need:
Must-Have Tools:
- Base coat and high-quality top coat
- Fine detail brushes in various sizes
- Dotting tools or bobby pins for precision work
- Nail art pens for intricate details
- Quality nail polishes in your chosen colors
- Cleanup brush for perfect edges
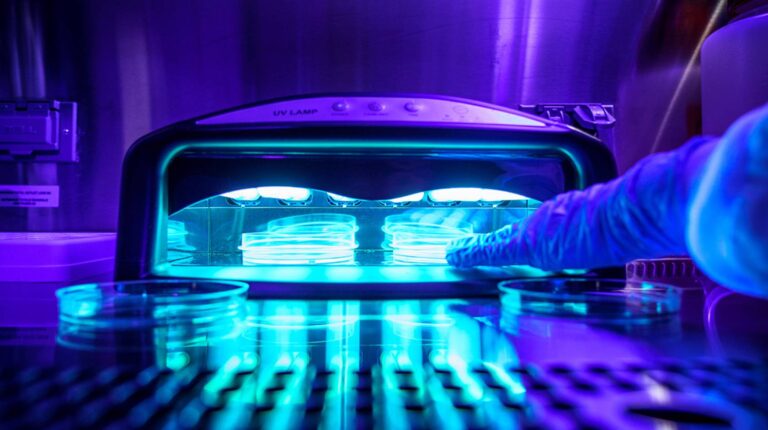
- UV or LED lamp (for gel polishes)
Preparation Steps:
- Remove any existing polish completely
- Shape nails to your preferred length and style
- Gently push back cuticles
- Buff nail surface lightly for better adhesion
- Apply base coat and allow to dry thoroughly
Proper preparation is crucial for long-lasting results, regardless of which design you choose.
1. Classic Feline Cat Nail Art – Playful Elegance
Cat nail art has captured hearts worldwide with its perfect blend of cute and sophisticated. This timeless design works beautifully on any nail length and can be adapted to suit both casual and formal occasions.
Creating Perfect Cat Silhouettes
Start with a neutral base color – nude, soft pink, or classic black work wonderfully. Once your base is completely dry, use a thin brush to paint simple cat silhouettes on accent nails. Focus on clean lines and iconic cat features like pointed ears and curved tails.
Step-by-Step Cat Design:
- Apply base coat and your chosen base color
- Allow to dry completely before proceeding
- Use a fine brush to outline the cat shape
- Fill in the silhouette with black or contrasting polish
- Add details like whiskers, collars, or facial features
- Apply top coat to seal and add shine
Pro Tips for Cat Designs:
- Practice your cat shapes on paper first
- Use contrasting colors for visibility – black cats on light backgrounds or white cats on dark bases
- Add tiny details like whiskers or collars for extra charm
- Consider gradient backgrounds for a sunset silhouette effect
For inspiration and professional examples, check out these stunning acrylic cat nail designs that showcase various artistic approaches.
The beauty of cat-themed designs lies in their endless possibilities. From minimalist outlines to detailed portraits, you can customize the complexity based on your skill level and time availability.
2. Mesmerizing Eye Nail Art – Mystical Appeal
Eye nail art brings an element of mystery and intrigue to your manicure. This design trend, inspired by ancient symbols and modern mysticism, creates nails that literally catch attention wherever you go.
Techniques for Stunning Eye Designs
The key to successful eye nail art is layering and detail work. Start with a base color that complements your chosen eye design – deep blues, purples, or even neutral tones work beautifully.
Step-by-Step Eye Creation:
- Apply your base color and let dry completely
- Use a medium brush to create the eye shape outline
- Fill in the iris with your chosen color
- Add depth with darker shades around the edges
- Create the pupil with black polish
- Add highlights with white or metallic accents
- Finish with detailed eyelashes using a fine brush
Design Variations:
- Third eye designs with mystical elements
- Realistic eye portraits
- Abstract eye interpretations
- Galaxy eyes with glitter and stars
According to beauty experts at Byrdie, eye-inspired nail art represents the growing trend toward mystical and spiritual beauty expressions.
3. Lightning-Fast Quick Nail Art – Effortless Beauty
Not everyone has hours to spend on intricate designs, which is why quick nail art techniques have become so popular. These time-saving methods deliver maximum impact with minimal effort.
15-Minute Designs That Wow
The secret to quick nail art lies in using the right tools and techniques. Nail art pens, stamping plates, and pre-made decals can help you achieve professional results in a fraction of the time.
Speed-Friendly Techniques:
- Geometric patterns using striping tape
- Gradient effects with makeup sponges
- Simple dots and lines for modern appeal
- Stamping for intricate patterns
- Nail wraps for instant designs
Time-Saving Tips:
- Prep all nails before starting any design work
- Use quick-dry formulas and top coats
- Work on one hand at a time for better control
- Keep cleanup tools ready for instant corrections
These rapid techniques are perfect for busy schedules while still maintaining that polished, artistic look everyone admires.
4. Mirror-Finish Chrome Nail Art – Futuristic Glamour
Chrome nail art delivers that coveted mirror-like finish that reflects light beautifully and creates an ultra-modern aesthetic. This technique has gained massive popularity thanks to its versatility and stunning visual impact.
Achieving the Perfect Chrome Effect
Chrome nails require specific products and techniques to achieve that flawless mirror finish. The key is working quickly and using the right application method.
Chrome Application Process:
- Apply base coat and cure under lamp
- Apply black gel polish base (essential for chrome effect)
- Cure the black base completely
- Apply chrome powder using an eyeshadow applicator
- Buff the powder gently into the tacky layer
- Apply gel top coat and cure
- Clean with alcohol for maximum shine
Chrome Variations:
- Classic silver chrome for timeless elegance
- Rose gold chrome for warm, romantic vibes
- Holographic chrome that shifts colors in light
- Matte chrome for a more subtle metallic effect
Product Recommendations:
- Chrome powders from reputable nail supply brands
- High-quality gel base and top coats
- Professional buffing tools for smooth application
Chrome nails work particularly well as accent nails when combined with complementary solid colors.
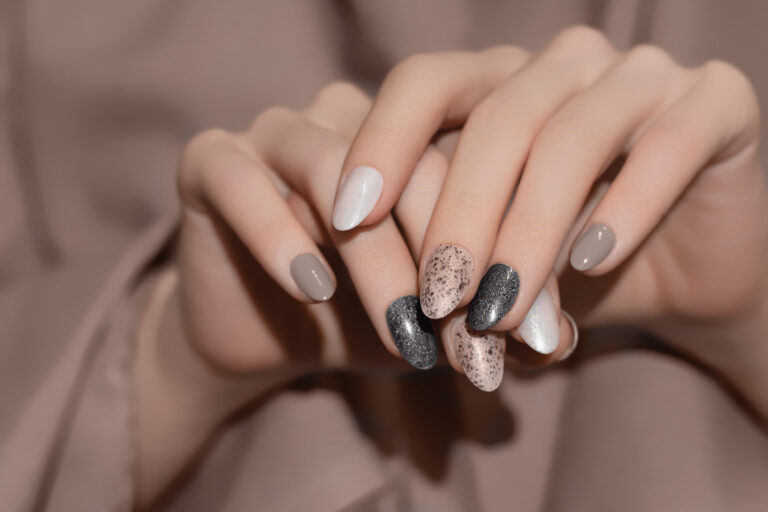
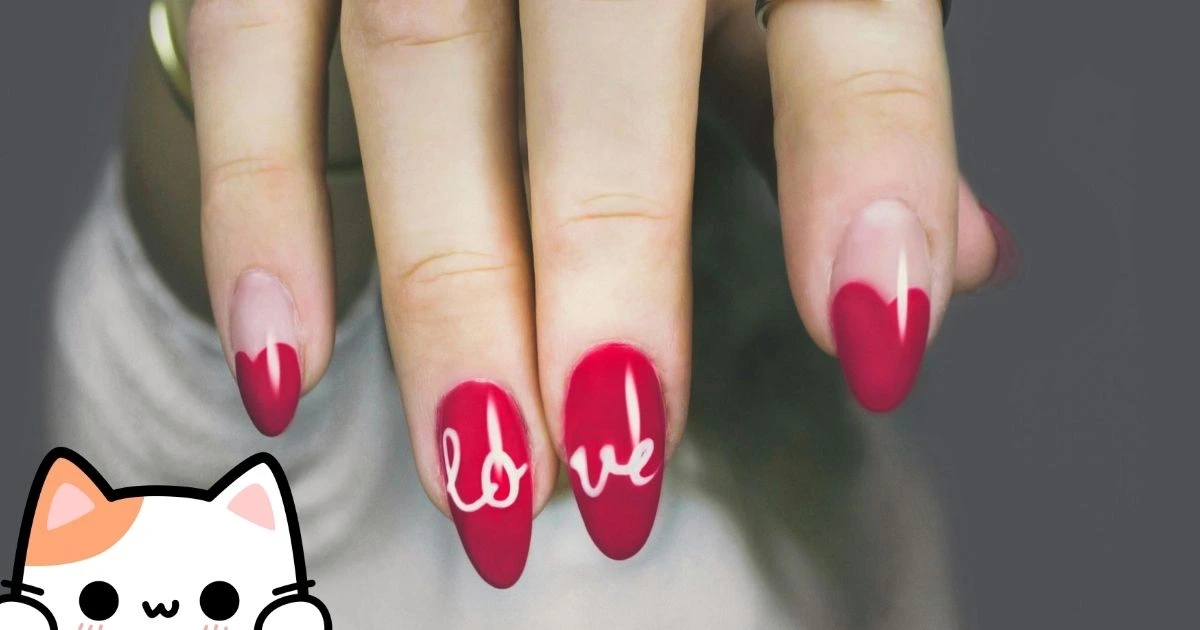
5. Rich Maroon Nails – Sophisticated Drama
Maroon nails represent the perfect balance between bold and sophisticated. This deep, wine-inspired color works beautifully across all seasons and complements virtually every skin tone.
Styling Deep Burgundy Shades
Maroon offers incredible versatility, working equally well for professional settings and glamorous evening events. The key is choosing the right finish and complementary design elements.
Maroon Design Ideas:
- Solid maroon with gold accent details
- Maroon and nude color blocking
- Gradient effects from light pink to deep maroon
- Maroon base with silver foil accents
- Matte maroon for modern sophistication
Application Tips:
- Use thin coats to avoid streaking
- Allow proper drying time between layers
- Consider a base color to enhance richness
- Finish with appropriate top coat for desired finish
Seasonal Styling:
- Fall: Pair with gold and copper accents
- Winter: Add silver details or glitter
- Spring: Soften with pink gradient effects
- Summer: Use as accent with lighter shades
Maroon nails photograph beautifully and maintain their elegance in both natural and artificial lighting.
6. Fierce Claw Nails – Bold Statement Style
Claw nails represent the ultimate in dramatic nail styling. These long, pointed shapes create an edgy, powerful aesthetic that commands attention and exudes confidence.
Mastering the Claw Shape
Creating perfect claw nails requires specific techniques and proper nail care to maintain both strength and style.
Shaping Technique:
- Start with longer natural nails or extensions
- File sides to create gradual taper
- Shape the tip into a sharp point
- Smooth and refine the edges
- Buff to remove any roughness
- Apply strengthening treatments
Design Options for Claw Nails:
- Solid colors that emphasize the dramatic shape
- Ombré effects that enhance the length
- Metallic finishes for maximum impact
- Dark colors like black, deep red, or navy
- Contrasting tips for added visual interest
Maintenance Considerations:
- Regular filing to maintain shape
- Strengthening treatments to prevent breakage
- Careful handling of daily activities
- Professional maintenance every 2-3 weeks
While claw nails require more maintenance, they create an undeniably striking look that’s perfect for special occasions or those who love making bold fashion statements.
7. Luxurious Velvet Nails – Textured Sophistication
Velvet nails introduce a unique textural element to nail art, creating a soft, matte finish that resembles luxurious velvet fabric. This technique adds depth and sophistication to any manicure.
Creating the Perfect Velvet Texture
The velvet nail effect is achieved using special velvet powder or flocking powder applied over tacky gel polish or specialized base coats.
Velvet Application Process:
- Apply base coat and cure if using gel
- Apply colored polish (works with both gel and regular)
- While polish is still tacky, sprinkle velvet powder evenly
- Press powder gently into the surface
- Shake off excess powder
- Seal edges carefully with top coat (avoid the velvet surface)
Color Combinations:
- Deep jewel tones for luxury appeal
- Soft pastels for romantic elegance
- Classic black for dramatic sophistication
- Rich burgundy for autumn elegance
- Navy blue for timeless appeal
Care Instructions:
- Avoid activities that might damage the texture
- Use cuticle oil carefully around nail edges
- Reapply velvet powder to touch up wear spots
- Handle with extra care during daily activities
According to nail experts featured in Allure magazine, textured nails like velvet finishes represent the growing trend toward tactile beauty experiences.
Professional Tips and Product Recommendations
Essential Products for Success
High-Quality Base and Top Coats:
- Invest in professional-grade base coats for better adhesion
- Choose appropriate top coats for each finish type
- Consider quick-dry formulas for time efficiency
Brush and Tool Quality:
- Fine detail brushes make intricate work possible
- Clean tools regularly for best results
- Store brushes properly to maintain their shape
Polish Selection:
- Choose pigmented formulas for better coverage
- Consider gel polishes for longer wear
- Build a palette of versatile colors
Troubleshooting Common Issues
Streaky Application:
- Use thinner coats and proper technique
- Ensure polish isn’t too thick or old
- Work quickly but carefully
Short-Lasting Designs:
- Improve nail prep and base coat application
- Seal design edges properly
- Use quality top coats appropriate for the design type
Smudging Problems:
- Allow proper drying time between steps
- Use quick-dry drops or sprays
- Avoid thick polish application
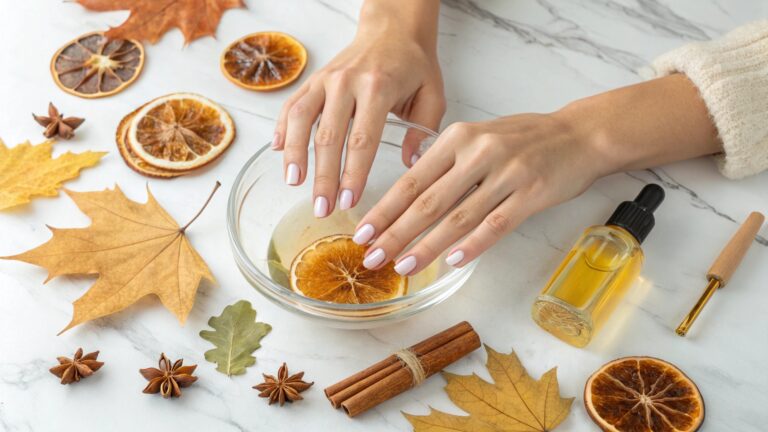
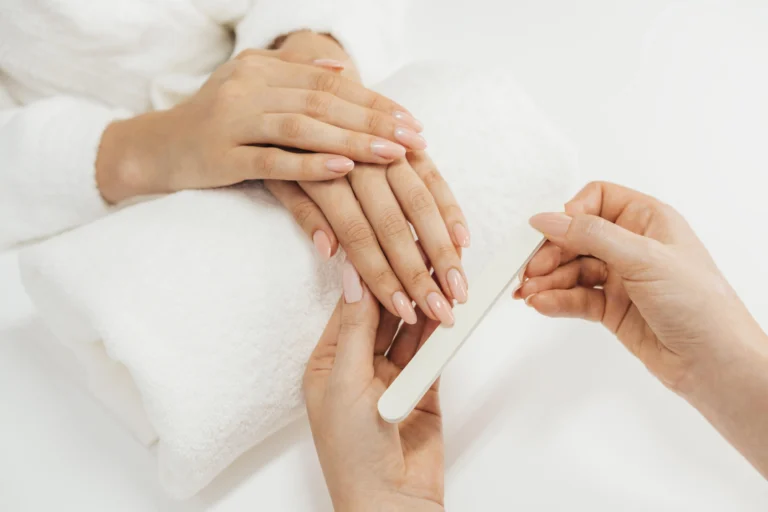
Nail Health and Maintenance
While creating beautiful nail art is exciting, maintaining healthy nails should always be the foundation. Regular nail care ensures your artistic creations look their best and last longer.
Essential Nail Health Practices:
- Keep nails and cuticles moisturized daily
- Use strengthening treatments as needed
- Take breaks between intensive nail art sessions
- Remove polish properly to avoid damage
For comprehensive nail health guidance, explore our detailed articles on simple nail art ideas and Korean nail art trends that emphasize both beauty and nail wellness.
Inspiration and Trend Forecasting
The nail art world constantly evolves, with new techniques and styles emerging regularly. Staying current with trends while developing your personal style creates the perfect balance of fashionable and individual expression.
Current Trending Elements:
- Minimalist designs with maximum impact
- Sustainable and natural-looking finishes
- Mixed textures and dimensional effects
- Personalized elements and custom details
Beauty industry leaders at Vogue Beauty regularly feature innovative nail art that pushes creative boundaries while maintaining wearable appeal.
Building Your Nail Art Skills
Progressive Learning Approach
Start with simpler designs and gradually build complexity as your skills develop. Each technique mastered becomes a building block for more advanced creations.
Skill Development Timeline:
- Week 1-2: Master basic application and cleanup
- Week 3-4: Learn simple patterns and shapes
- Month 2: Experiment with color combinations and gradients
- Month 3: Try advanced techniques like chrome and texture
- Ongoing: Develop personal style and signature techniques
Practice and Patience
Remember that even professional nail artists started as beginners. Regular practice, patience with the learning process, and experimentation with different techniques will naturally improve your skills over time.
Practice Tips:
- Use practice wheels or fake nails for skill building
- Take photos of your work to track progress
- Try recreating designs from nail design video tutorials
- Don’t be afraid to make mistakes – they’re learning opportunities
Ready to Transform Your Nails?
These seven stunning nail art styles offer endless possibilities for creative expression and personal style development. From the playful charm of cat nail art to the luxurious appeal of velvet nails, each technique brings its own unique beauty to your fingertips.
The beauty of nail art lies not just in the final result, but in the creative process itself. Whether you’re following a nail design video tutorial or experimenting with your own ideas, each manicure becomes an opportunity for artistic expression and self-care.
Remember that mastering these techniques takes time and practice. Start with the styles that appeal most to you, build your confidence, then gradually expand your repertoire. The most important element is enjoying the creative process and expressing your unique style.
Continue Your Nail Art Journey
Ready to explore even more nail art possibilities? Discover additional inspiration and techniques in our comprehensive nail care section, where you’ll find everything from basic nail health tips to advanced artistic techniques.
Whether you’re just beginning your nail art adventure or looking to refine your existing skills, remember that beautiful nails start with healthy nails. Invest in proper care, quality products, and most importantly, have fun with the creative process.
Your nails are a canvas for self-expression – what masterpiece will you create next?