Soap Nails Manicure: 7 Steps to Ultra‑Clean DIY Nails
You know that satisfying feeling when your nails look professionally done, but you did them yourself at home? That’s exactly what a Soap Nails manicure gives you—ultra-clean, glossy nails without the salon price tag. I stumbled upon this trend last month while scrolling through beauty tutorials, and honestly, it’s changed my whole home nail care routine. If you’re tired of messy DIY manis or just want nails that look ridiculously clean, you’re in the right place. Let me walk you through exactly how to nail this technique (pun intended 😉).
1. What Exactly Is a Soap Nails Manicure?

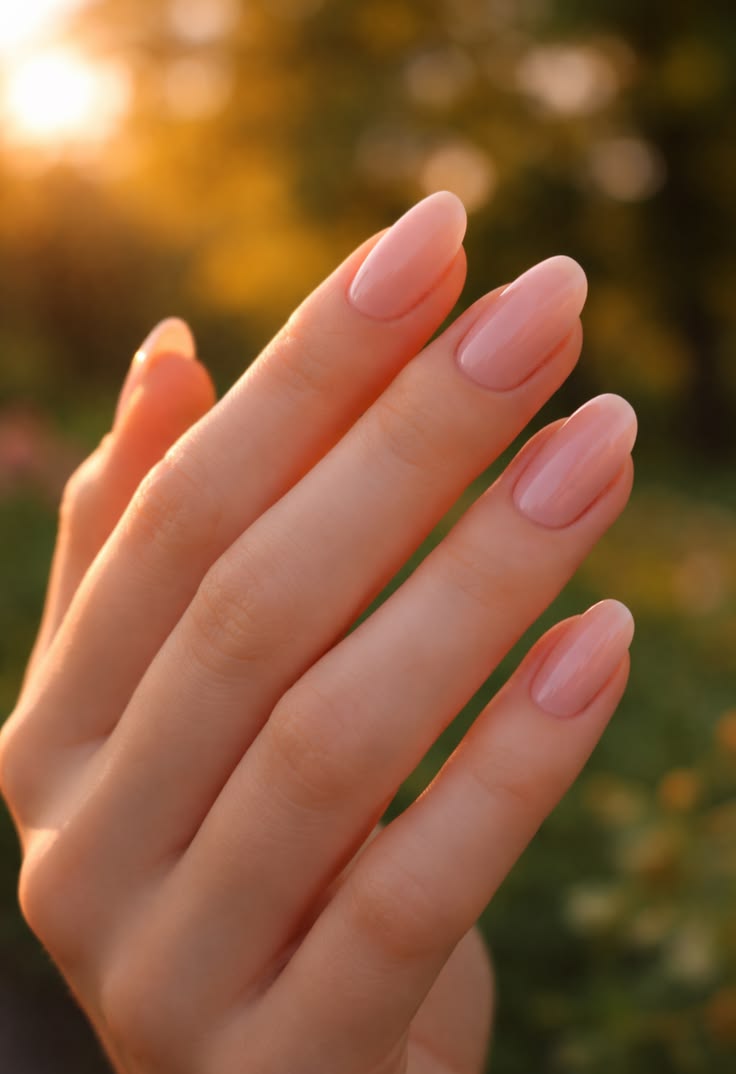
A Soap Nails manicure is basically a trending nail technique where you mix a tiny bit of liquid soap into your polish or top coat to create an ultra-smooth, bubble-free finish. The soap helps the polish glide on evenly and prevents streaks, giving you that glass-like shine. It sounds weird at first—I thought so too—but trust me, the results speak for themselves. This DIY Soap Nails tutorial has been blowing up on social media because it actually works. Plus, you probably already have everything you need sitting in your bathroom right now.
2. Gather Your Supplies Before You Start

You don’t need a ton of fancy products for this ultra-clean manicure at home. Here’s what I always grab: a good base coat, your favorite nail polish color, a clear top coat, liquid hand soap (unscented works best), a small mixing plate, and a thin nail brush. Oh, and don’t forget cotton pads, nail polish remover, and a cuticle pusher. Having everything laid out before you start makes the whole process so much smoother. I learned this the hard way after ruining a fresh coat while hunting for my top coat. If you want perfectly prepped nails, check out this helpful guide on cuticle care basics to start with a clean canvas.
3. Prep Your Nails Like a Pro
Clean, prepped nails are the secret to any great manicure—Soap Nails or not. Start by removing any old polish completely, then wash your hands with warm water and soap. Push back your cuticles gently (never cut them unless you really know what you’re doing), and file your nails into your preferred shape. I always buff the surface lightly to remove any ridges or bumps. Then wipe each nail with a cotton pad soaked in rubbing alcohol or nail polish remover to get rid of oils. This step is crucial because it helps your polish stick better and last longer.
4. Mix Your Soap and Polish Carefully

Here’s where the magic happens in this Soap Nails manicure trend. On your mixing plate, add about three drops of your top coat, then mix in one tiny drop of liquid soap. This step is essential in any DIY Soap Nails tutorial to achieve the perfect consistency. Use your thin brush to blend them together until you see small bubbles forming. Don’t go overboard with the soap—a little goes a long way, and too much will make your polish too runny, even if you’re following a home nail care guide. I made that mistake the first time and ended up with a goopy mess. The mixture should look slightly foamy but still easy to brush on. This is the Soap manicure trend technique that gives you that signature ultra-clean manicure at home, streak-free finish.
5. Apply Your Base Coat and Color
Always start with a good base coat to protect your natural nails and help your color last longer. Let it dry completely—don’t rush this part. Then apply your first coat of nail polish in thin, even strokes from base to tip. Wait a few minutes, then add a second coat if needed for full coverage. I usually go with two thin coats instead of one thick one because it dries faster and looks smoother. The key to this home nail care guide is patience between coats. While you’re perfecting your technique, you might also enjoy learning about proper morning skincare routines to keep your whole self glowing.
6. Seal Everything with Your Soap Top Coat
Now grab your soap-and-top-coat mixture and apply it over your dried polish. Use smooth, even strokes and don’t go back over areas you’ve already covered—that’s when you get bubbles or streaks. The soap helps the top coat self-level, which is what creates that glassy, professional finish. Let it dry for at least 10 minutes without touching anything. I know it’s tempting to check if it’s dry, but trust the process. According to this expert nail care guide, proper drying time is what separates good manicures from great ones. You’ll notice your nails look almost gel-like when you’re done.
7. Clean Up and Maintain Your Perfect Mani
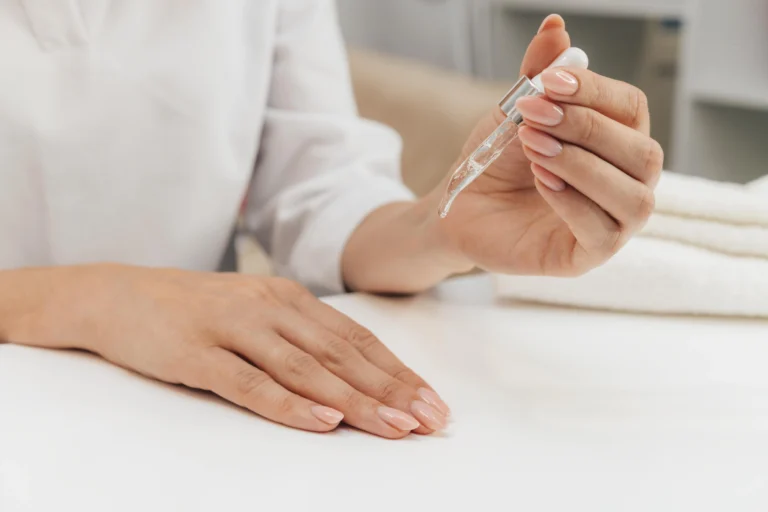
Once everything’s completely dry, dip a small brush in nail polish remover and clean up any polish that got on your skin. This makes your manicure look super professional and polished (literally ✨). To make your Soap Nails manicure last longer, apply cuticle oil daily and wear gloves when doing dishes or cleaning. I also add a quick layer of regular top coat every two to three days to keep the shine fresh. Your nails should stay glossy and chip-free for about a week—maybe longer if you’re gentle with them. The best part? You can repeat this whole process whenever you want without spending salon money.FI
final
Ready to try this ultra-clean nail trend yourself? Trust me, once you see how easy and effective a DIY Soap Nails tutorial is, you’ll wonder why you didn’t try it sooner. Drop a comment below if you give it a shot—I’d love to hear how your manicure turned out! And if you’re looking for more beauty tips and home care guides, stick around because I’ve got plenty more to share.